Re-assembled the Supersonic and connected to the lamp limiter. It failed before I could go past my 60 watt bulb. I stepped through four bulbs, 25, 40, 60, and 100 watt. So, the first test is to remove the 5U4 rectifier tube and try again. It passed, as I observed the filaments begin to glow. PT is good. I dug out another 5U4 tube and started again. This time it passed, and began showing signs of working with the 60 watt bulb in place. I connected the guitar and the amps does indeed work. However, there was a slight hum, with all volume pots turned down. I stepped to the 100 watt bulb and the amp got louder. So did the hum. But, it works.
Finally, removed the 100 watt and put a plug-fuse circuit breaker in lamp socket. Now the amp is really loud. And, the hum is some loud, but I'm enjoying the amp. The Reverb is really strong, so I've got a good spring tank, and I have the speakers connected correctly.
While I was enjoying it, the amp developed a really loud hum that made playing impossible. Shut it down and put it back on the limiter. It still passed. Fired it up again off of the limiter, and it sounded really good for a few minutes. Then, the loud hum came back with a thud. I shut it down. I won't play it again until I've replaced the two canned capacitors in the power supply. Fortunately, that chassis is easy to remove, and the caps should be easy to get to. I will order the parts and begin work on filling the stripped out screw holes on the back. I have some new black washer-head #6 wood screws to re-install the back panel.
Once the power supply caps are installed, I intend to connect a chassis ground from the bottom chassis to the top pre-amp chassis. A bit more towards de-humming the amp. Also, I will make an effects (FX) loop box to mount to the hole in the top, and fab up a cable to go between the Return and the RCA jack in the power amp. I will connect the pre-Amp output (RCA, as well) to the Send of the loop.
Here's some pictures of my resulting progress:
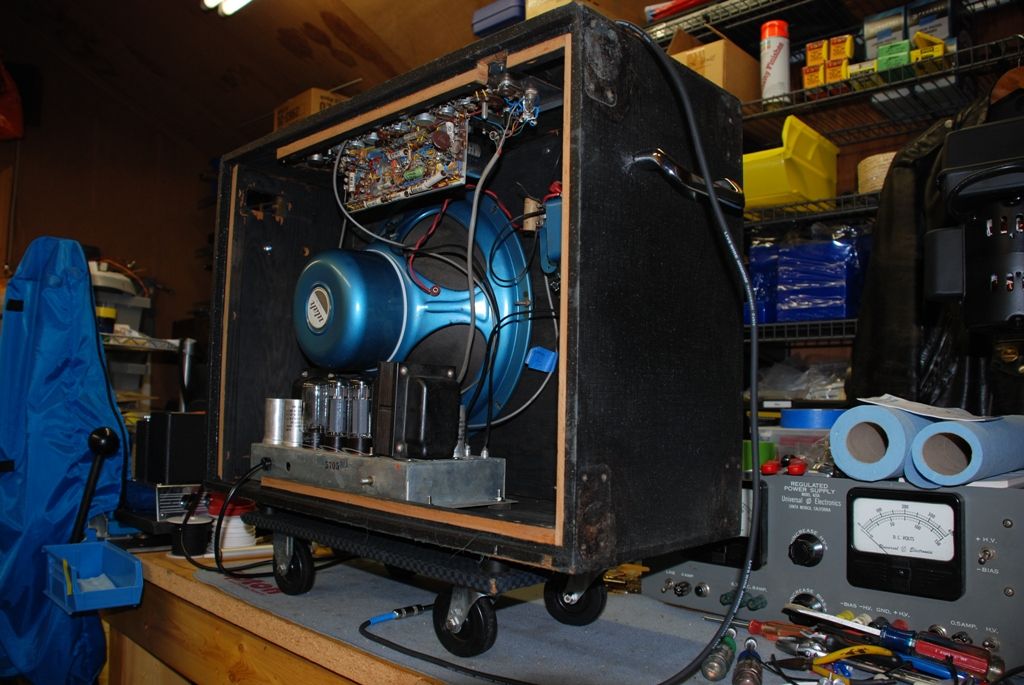
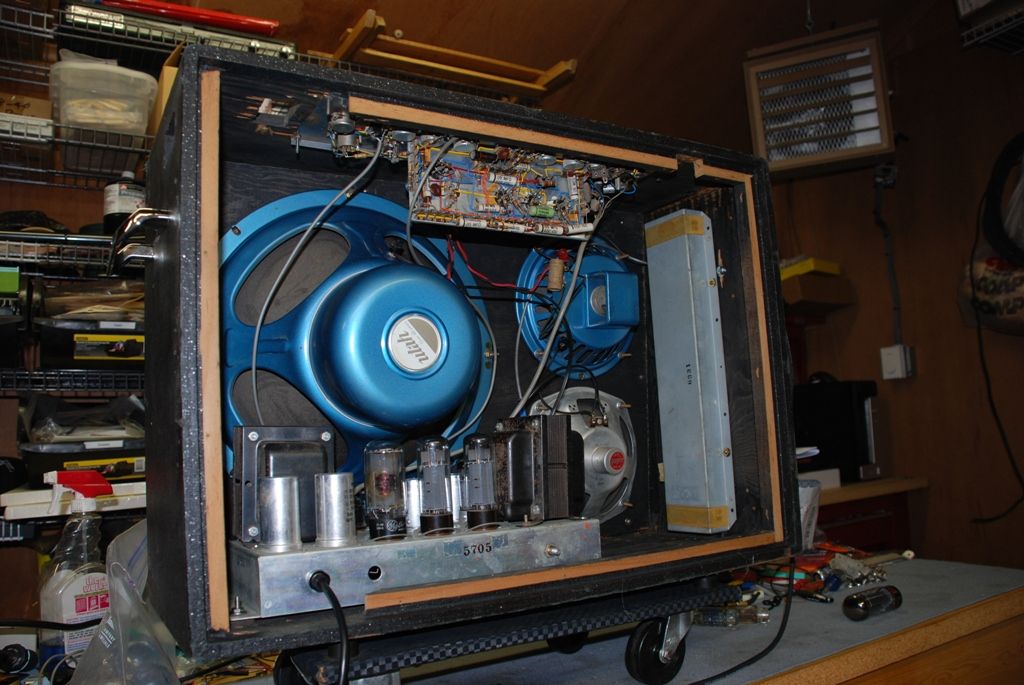
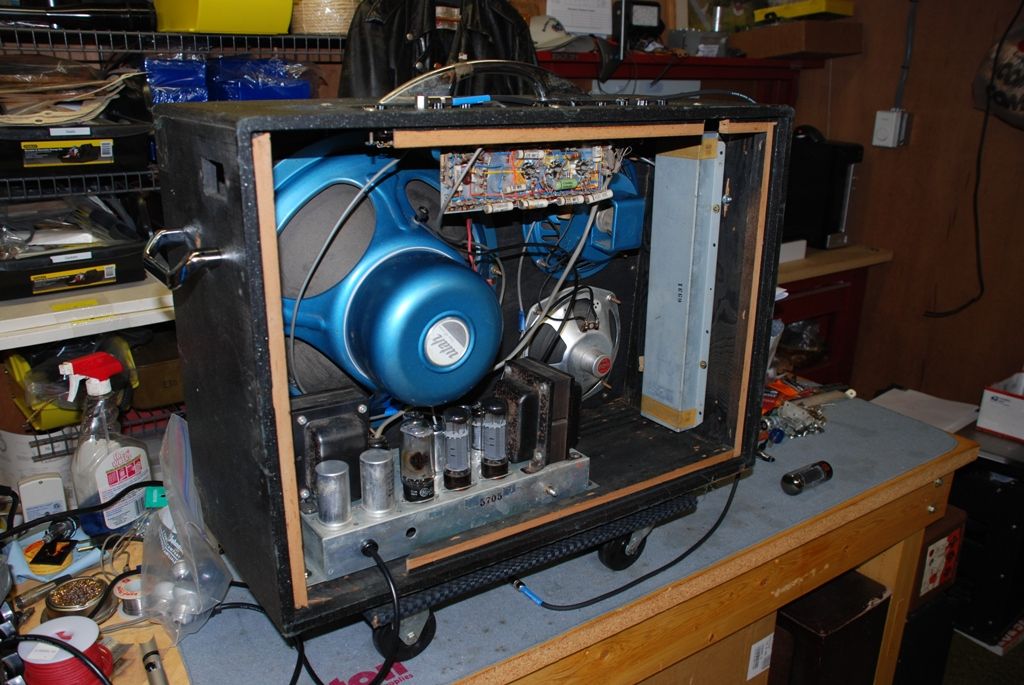
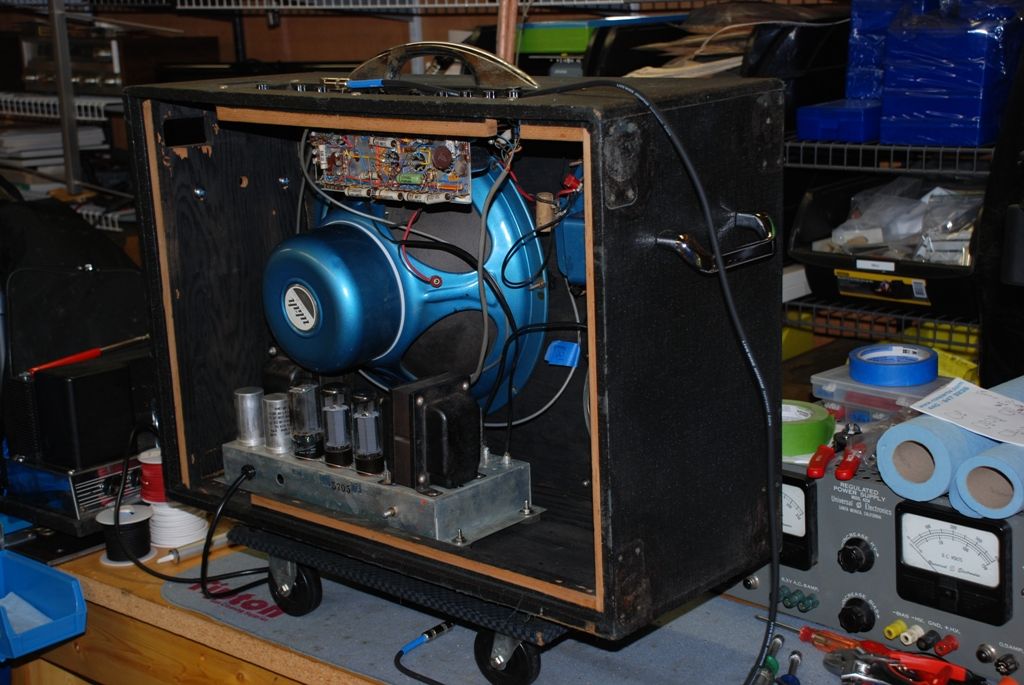
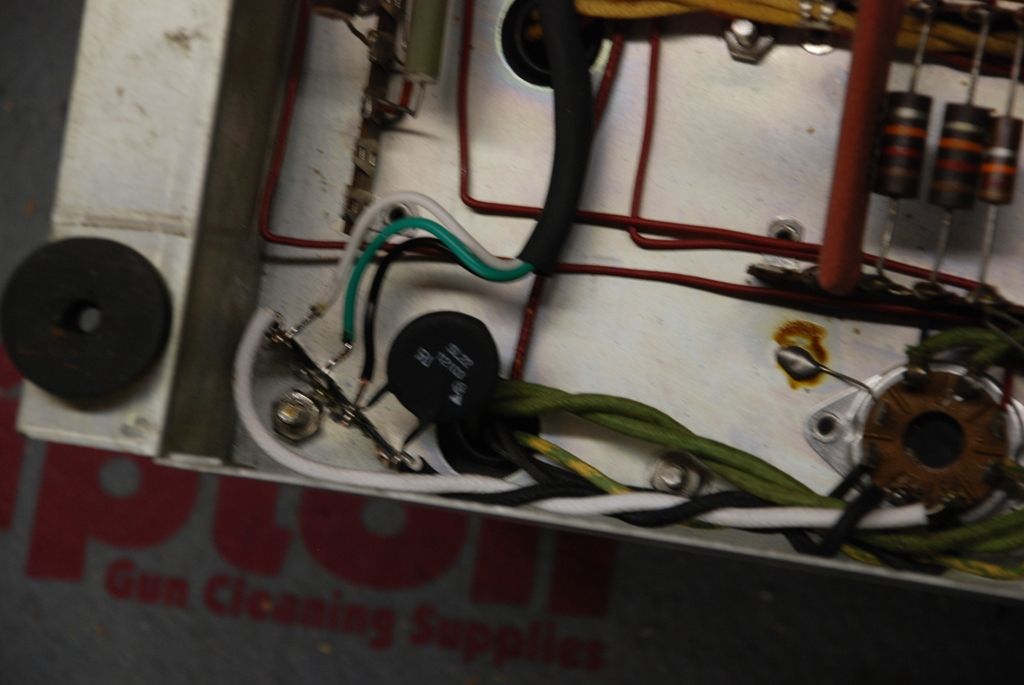
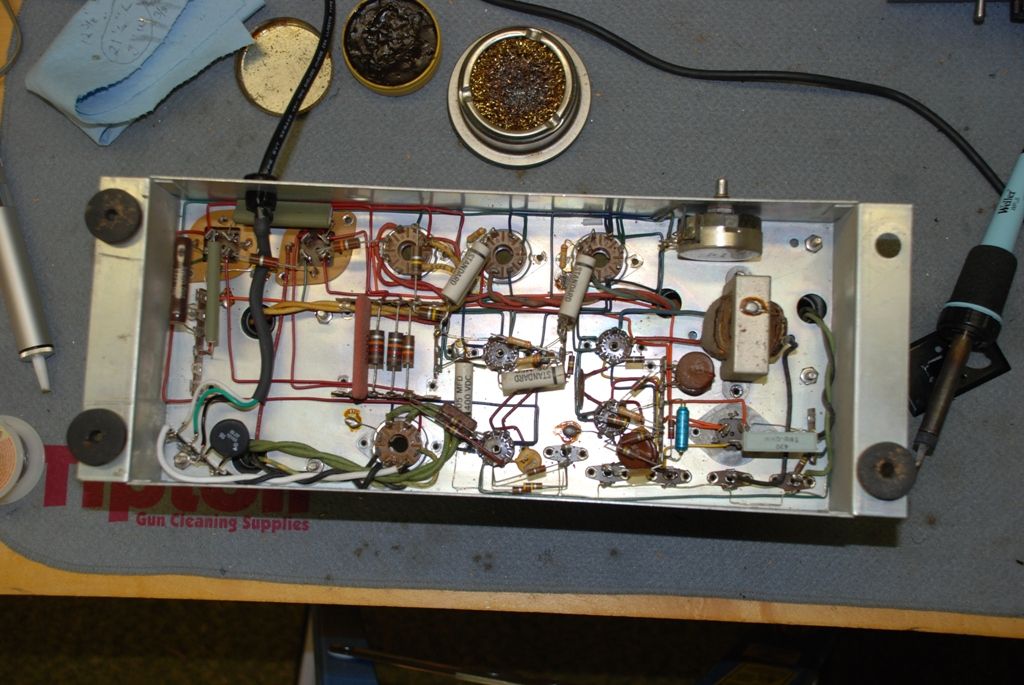
Note the replica Ampeg sided handles. And, the real Ampeg dolly underneath. The last two pictures are mainly to show the solder terminal (bottom left of the chassis picture) and the thermistor installed in series with the 'hot' line to the power switch.
In my haste to get pictures, I forgot to snap one of the front, and my newly re-installed badge. Though it's missing the white back panel, it still looks good to have it back in its correct orientation. I will have more pictures when the next (and hopefully final) phase is done. Showing real promise.
One more thing. It's very clean now. And as alluded to previously, cleaner than it has been in possibly decades. Have a good one.
Jack
 Topic: Sano Supersonic High Fidelity Amplifier...... (Read 36989 times)