thanks comrades. so with the bliss of ignorance as my shephard, I made minor progress last night.
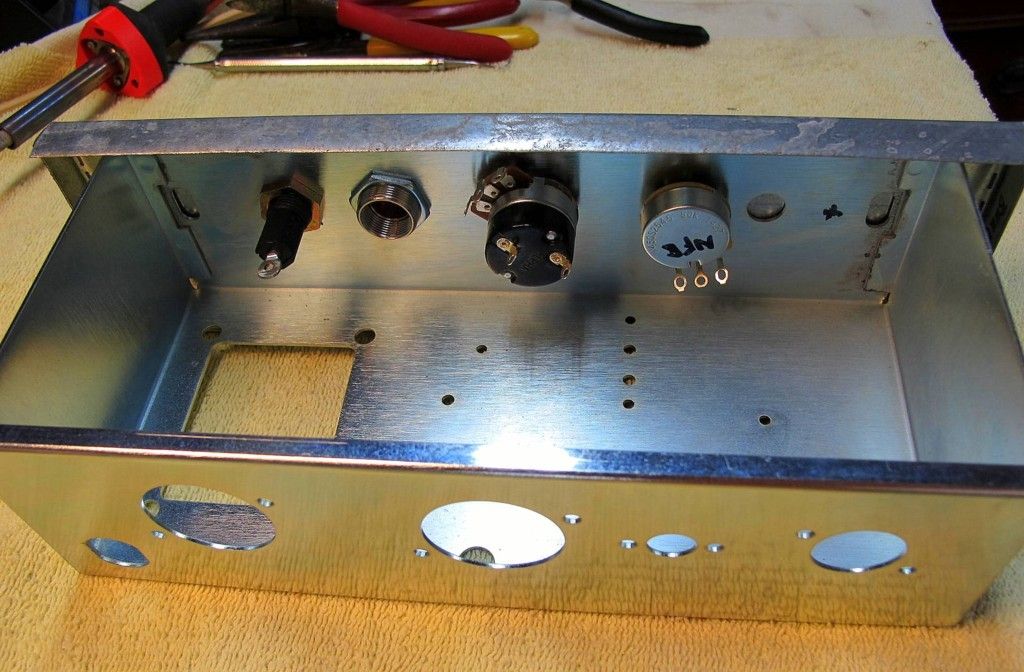
first chore was to modify the chassis control face - I got the chassis off eBay, it's a nice product, but drilled for traditional Champ layout, which I'm going to tweak.
I only want one input jack, and i wanted the NFB pot on the front panel, sort of proxy for a tone pot.
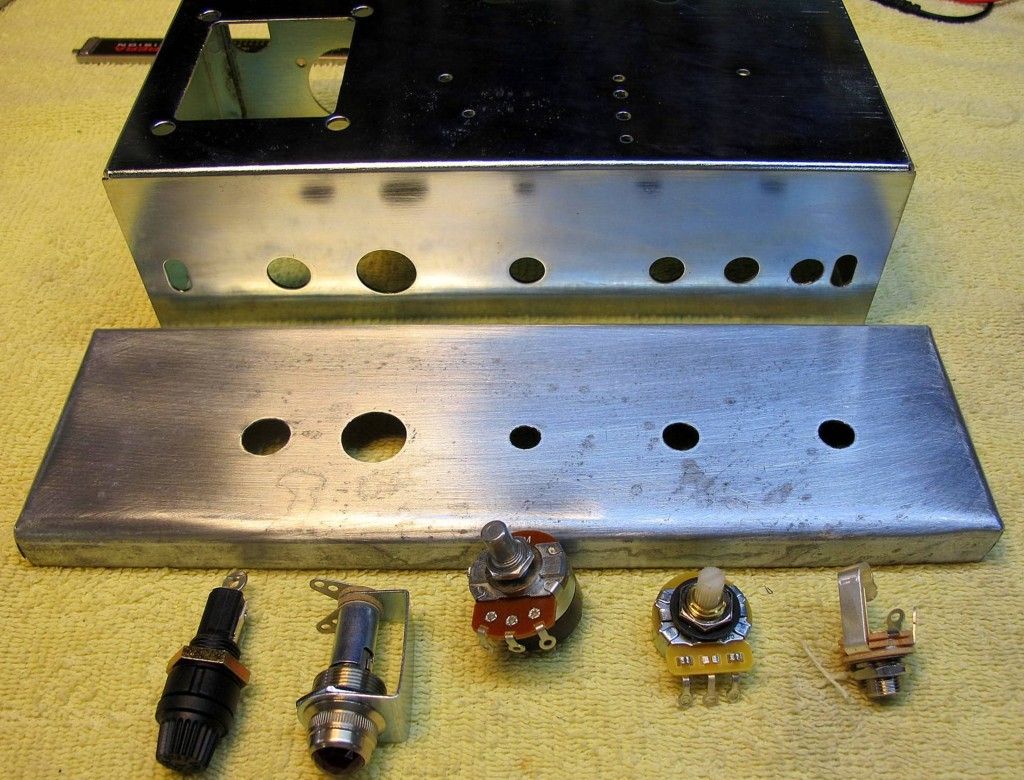
the hole spacing didn't accommodate that config, so I decided to fabricate a faceplate with new hole spacing, then drill the chassis to match that.
Turns out that really only meant one new hole, just moving the input jack hole more towards the edge, and sticking the NFB pot in the (original) 2nd jack hole .
The face plate, which I'll paint and label later, of course then hides the abandoned original 1st input jack hole.
I think I'll spot mig weld the face plate onto the chassis before i put any components aboard.
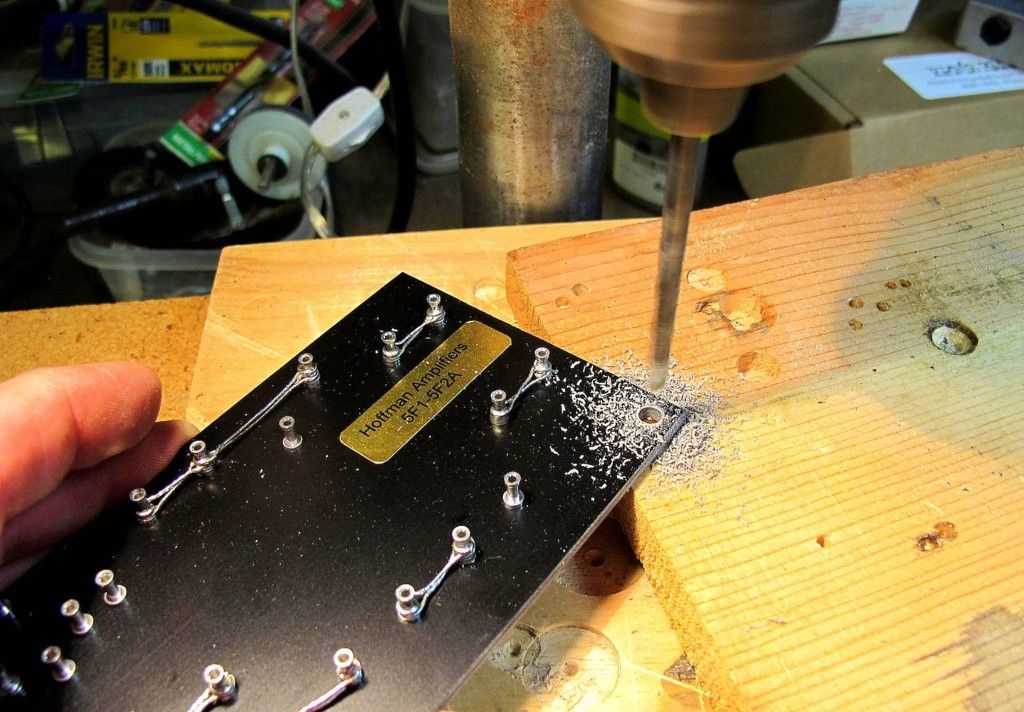
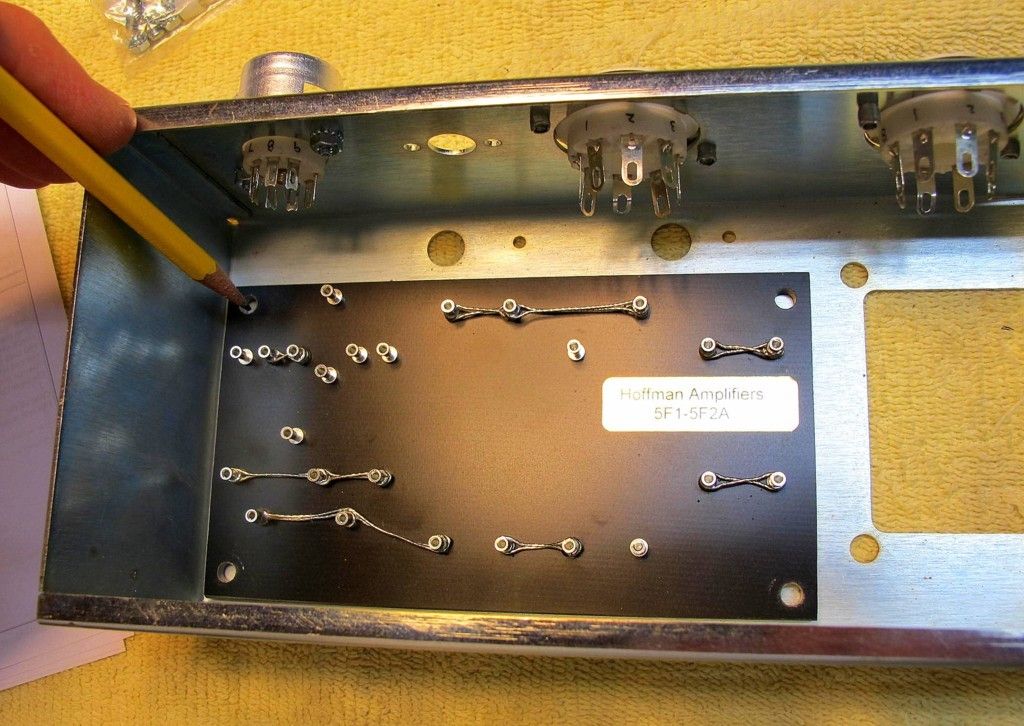
The I did some ciphering on location of the the circuit board - there really isnt a whole lotta wiggle room there as most of you already know - and drilled the board for its mounting hardware - and transferred those holes locations to the chassis.
Waitin to drill the chassis until I have transformers in hand & I'm positive I have needed clearance.
So then comes the hard part. For me anyway.
Doug says, to keep things neat, wire up the chassis infrastructure first, before installing component board (which is 180 degrees from the way I woulda done it, so it has to be right).
Then install component board and patch it in.
The sharp-eyed will note the 6V6 socket is riveted above but screwed below. evidence of a mistake.
I needed to swap the orientation of the socket once I saw how the heater wires were going to run.
Drilled out rivets, learned a lesson about thinking ahead.
Started soldering the 12AX7 leads.
Fumbled around soldering with the socket installed in the chassis at first, until it dawned on me that I could just remove the socket and solder it up and then reinstall. Duh.
Confidence was sagging at this point.
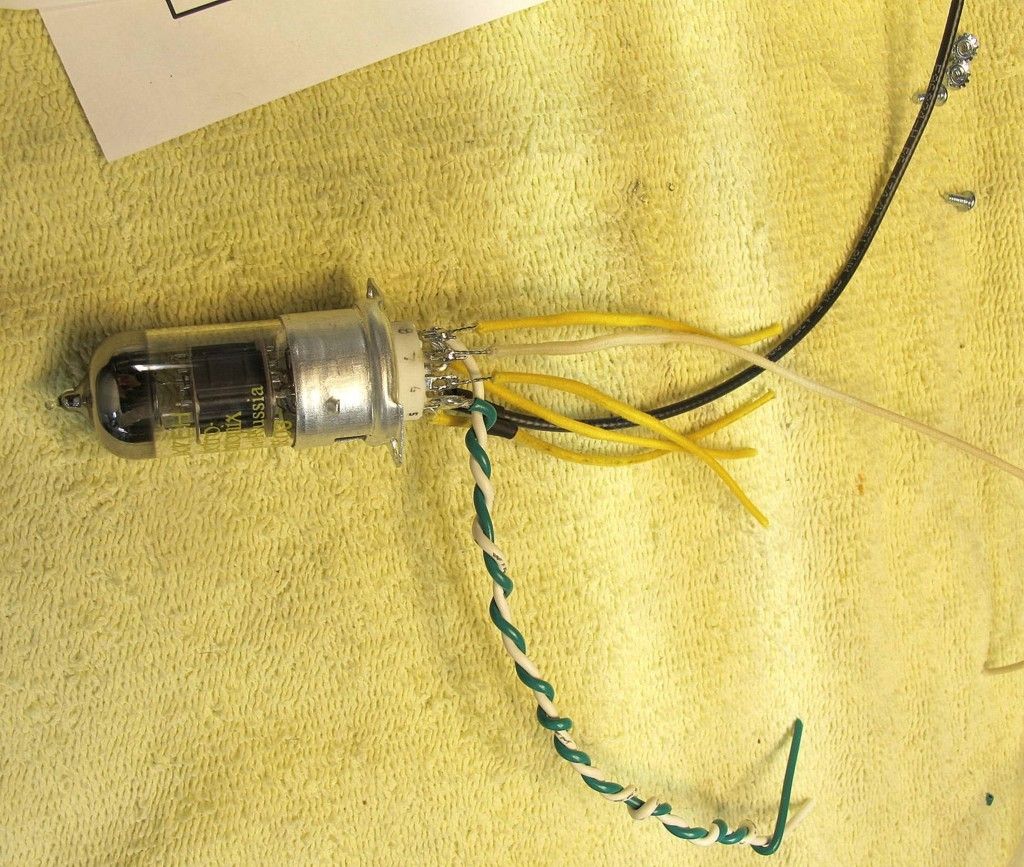
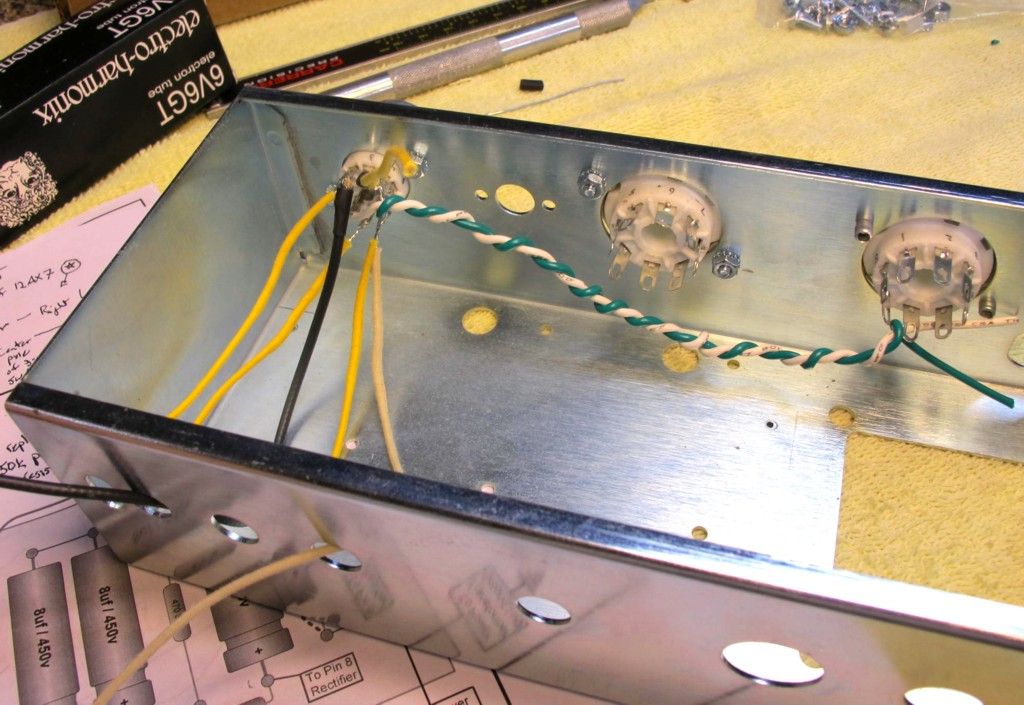
The green white heater wires will go to center 6V6 socket, they just look like they're heading to the rectifier in this pic. ( I'm leaving leads long at first....)
The white and black go underboard to vol pot and input jack, respectively.
Yellows go to board. The pushback cloth wasn't pushed back prior to these pics - I won't have those bare wires showing.... I hope.
Question #1 - can one carefully bend those tube socket solder tabs so they extend/radiate outward and separate a little ? or must they stick straight out, like they do on a virgin socket ?
Question #2 - this will eventually go in a homemade amp head box, likely mounted horizontally with tubes sticking out back, as opposed to the tubes hanging down.
I'm assuming it would better to mount the chassis with transformers on top ? They give off a lot of heat ?
thanks for any guidance,
/mike

 Topic: 5F1 Build thread - by a first timer. (Read 29683 times)